

The problem was, I'm planning to have a fleet of around 60 to 80 of these bad boys, and I needed to come up with an easy, quick and economical way to do it. My answer was right there under the car.
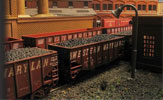
You can see in the photo at right the over-sized gap between the cars. It scales out to around 8', which is unacceptable. It's caused by the fact that Atlas trucks are designed to accommodate Rapido T shank couplers as well as the self-sprung Accumate knuckles. The T shank pocket adds about 3/32nds of an inch, which combined creates a 3/16" void over and above what should be there.
The good news is that the weighted frame of the car is designed with a bar that can be used to mount the coupler draft gear. Unfortunately, on the brake gear end, there's a detail casting set into that bar, so drilling for a screw mounting could cost you a brake cylinder. Also, the metal bar would be a pain to drill and tap for 80 cars.
What to do? As an experiment, I removed the trucks and tried drilling, just to see how bad it would be. It was bad. The Micro Trains body mount couplers would look great, but I just couldn't see breaking my knuckles. I couldn't use Super Glue, because there's a little slot on the top of the MT draft gear that would get fouled with glue, causing the coupler to seize up.
It was then that I noticed the Accumate draft gear had no such gap on the top. I carefully trimmed the box from the truck, removing the wheel sets first. I filed the back to smooth out the cuts, then used a tooth pick to carefully dab a half a drop of CA to the bar on the frame. I then carefully pressed the Accumate coupler box into the glue, making sure to line it up straight and centered, and a little bit back so the shank extension was much shorter than the original.
Aside from one car where I got a little "enthusiastic" with the super glue, the couplers work great. I was a little worried about how well the bond would hold, but I recently ran a 40 car coal train on a club layout for several hours without a separation.
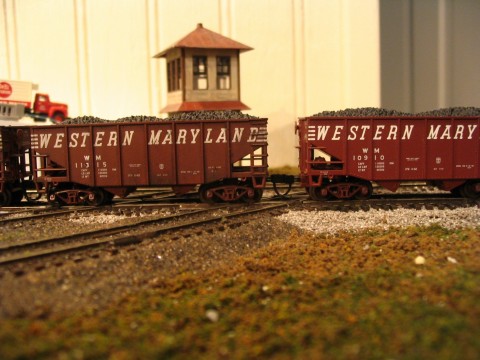
If you look at the height of the truck mounted coupler, you'll see that the top of the draft gear is just a hair lower than the mounting bar. I decided to try my installation without any shim, and so far I've had no problems.
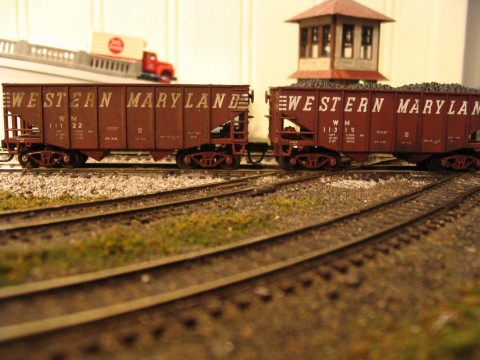
This view shows the cars with body mounted couplers. Notice how much closer together they are.
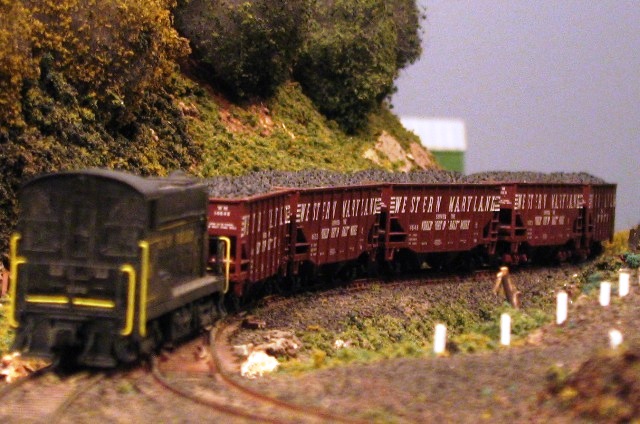
The Baldwin switcher pulls 5 loaded hoppers down the hill from Manor Mine #3 on the Chaffee Branch. Body mounted couplers allow the weight to be transfered through the car itself, preventing the trucks from derailing.
When Arthur Grotz took over as president of the WM in the early 1950's, he wanted to update the image of the company as part of a campaign to improve relations with investors. He hired the New York ad agency where his brother worked as an art director, and they came up with the classic "Speed Lettering" design.
Mr. Grotz liked the way it looked on a long string of coal hoppers, showing a bold image of speed and efficiency. I dare say he hit the nail right on the head. Quite a contrast from the sleepy cat the supplanted it.
If you're like me, you regarded the release of the Atlas 55 ton "fish belly" hopper as nothing short of a miracle. Nothing said "Western Maryland" like a string of these cars being lugged up Black Fork, or endlessly dumped at Port Covington.
But when I got my first batch, I noticed that the truck mounted Accumate couplers left an awful lot to be desired, especially in the oversized gap they left between the cars.
Also, while the cars are nicely weighted, I had difficulty pushing 5 of them up the 3.5% grade on the Chaffee Branch without having them buckle all over the place.
There was only one hope... Body mount the couplers.
This view shows the large gap between cars caused by the extended coupler boxes. Both cars have the stock, truck mounted Accumate couplers.

I aligned the outside edge of the draft gear with the bottom sill of the end frame. That brings the coupler length more in line with what one would expect to see on the prototype.
While I had the cars apart, I also took a minute to spray the trucks with Oxide Red. This was a fairly common practice on the WM, which liked its equipment clean and in good order.
After that, I applied weathering using a combination of washes. First I applied a light wash of acrylic white, streaking it down from the white lettering to simulate the "chalking" that frequently occurs on the prototype. On some cars, I added some rust streaks along rivet lines and other areas, using prototype photos as a guide. I then applied multiple thin layers of blacks and greys to simulate a build-up of coal dust. Some cars got a light misting of Floquil Instant Weathering in a can to simulate brake dust.
According to my roster, I'm up to 20 of these cars. All of them have been converted to the body mount coupler, and all but a handful have been weathered.
I've also re-numbered many of them. Even though Atlas releases two road numbers with each batch it produces, the runs have been few and far between. So I grab my handy roster, and my big pile of decals and go to work. I use a small flat blade jewelers screw driver to gently remove one or more of the painted numerals, then buff out the paint with a few swipes of a paper towel.
For the new numbers, I use the white number board numerals supplied with MicroScale's WM Hood Diesels set. At this point, I'm not fooling with the car numbers on the ends. Again, refer to the 3-foot rule. For up-close photography, I just make sure I use one of the factory cars where the numbers match.
